Hey, I’m Rifat. I’m that person who’s always breaking and fixing stuff just to understand how it works. Especially when it comes to web development. One day, I had this random idea: what if I could host my own website from a Raspberry Pi? You know, that tiny $35 computer? What started as a fun experiment turned into a crash course in web hosting. I learned more from that little machine than I ever did from watching YouTube tutorials or reading blogs.
This is my story, but more importantly, it’s a guide to what I learned — the good, the bad, and the mind-blowing. And no worries, I’ll explain everything like I’m talking to a buddy, not writing some boring textbook.
Why I Chose a Raspberry Pi for Web Hosting
So let’s start at the very beginning. Why even use a Raspberry Pi?
Well, I didn’t have much money at the time. I also wanted full control over my server. Cloud hosting platforms were either too expensive, too complicated, or just didn’t feel “mine.” I already had a Raspberry Pi 4 lying around. It had a 32GB SD card, a power adapter, and it barely used any electricity. Seemed like a perfect test dummy.
The goal? Host a basic static site and then slowly scale it up.
Setting Up the Raspberry Pi: It’s More Than Just Plug and Play
You might think you just power it on and magic happens. Nope. There’s a bit more to it.
Installing the OS
I started by flashing Raspberry Pi OS onto the SD card using Balena Etcher. Pretty straightforward. Once that was done, I booted it up, connected to Wi-Fi, and updated the OS. Always update your OS, trust me.
sudo apt update && sudo apt upgrade -y
This one command saved me from a ton of compatibility issues later on.
Making It Headless
Since I didn’t want to connect a monitor and keyboard, I made it a “headless” setup. That means I could control the Pi through my laptop using SSH.
To do this, I dropped a blank file named ssh into the boot partition of the SD card before booting it up. Once it powered on, I connected using:
ssh [email protected]
And boom — remote access.
The Basics of Web Hosting (That Nobody Tells You)
Let’s be real, web hosting sounds scarier than it is. Once I had access to the Pi, I installed a lightweight web server — Nginx.
sudo apt install nginx
Opened the browser, typed in the Pi’s local IP, and there it was: the default Nginx landing page. I legit screamed.
Hosting My First Site
I created a basic HTML page:
<html>
  <head><title>My First Pi Site</title></head>
  <body><h1>Hello from my Raspberry Pi!</h1></body>
</html>
Dropped it into /var/www/html/, and just like that, I had my first website.
But then I realized… nobody outside my home network could see it.
Port Forwarding and Dynamic DNS: Making It Public
This is where things got spicy. To let people access your Pi from the internet, you need to:
1. Forward Port 80 and 443
I logged into my router and forwarded ports 80 (HTTP) and 443 (HTTPS) to the Pi’s internal IP. That allows web traffic to reach your Pi.
2. Use a Dynamic DNS Service
My IP address kept changing, which sucked. So I used a free dynamic DNS (DDNS) service like DuckDNS. It gave me a custom domain like mycoolpi.duckdns.org and automatically updated my IP.
Boom! My site was now live for the world to see.
The Real-World Challenges I Faced
Okay, so everything was up and running. But boy, did I run into some problems.
Performance Bottlenecks
The Pi is powerful for its size but not built for high traffic. When I tried hosting a tool website with JavaScript, images, and user data — it slowed down. A lot. So I started caching pages and limiting simultaneous connections using Nginx settings.
worker_processes 1;
events {
  worker_connections 512;
}
Power Outages
A sudden power cut? My whole site went down. So I bought a small UPS (Uninterruptible Power Supply). Problem solved.
SD Card Corruption
This was a nightmare. SD cards wear out. One day, the Pi just wouldn’t boot. I had no backup. Learned that the hard way.
So I set up automatic backups with rsync to a cloud service.
rsync -av /var/www/html/ /mnt/cloudbackup/
Lesson? Always. Back. Up.
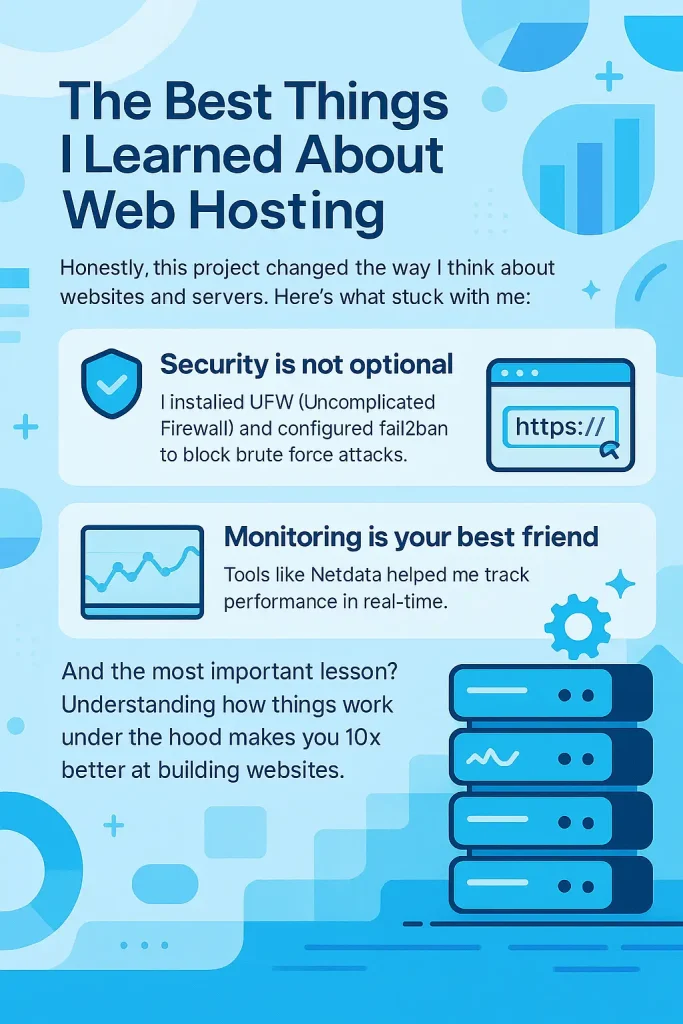
The Best Things I Learned About Web Hosting
Honestly, this project changed the way I think about websites and servers. Here’s what stuck with me:
- Security is not optional: I installed UFW (Uncomplicated Firewall) and configured fail2ban to block brute force attacks.
- HTTPS matters: I used Let’s Encrypt to get a free SSL certificate. It makes your site secure and Google loves it.
- Monitoring is your best friend: Tools like Netdata helped me track performance in real-time.
And the most important lesson? Understanding how things work under the hood makes you 10x better at building websites.
Table: Raspberry Pi Hosting vs. Traditional Hosting
| Feature | Raspberry Pi Hosting | Traditional Hosting (Shared/VPS) |
|---|---|---|
| Cost | Super cheap | Varies ($5-$50/month) |
| Performance | Good for low traffic | Better scalability |
| Learning Experience | Hands-on, deep understanding | More abstracted |
| Setup Time | Takes time | Usually instant |
| Reliability | Depends on your hardware | Very reliable |
| Control | Full root access | Limited in shared hosting |
Can You Actually Host a Real Website from a Raspberry Pi?
Short answer: Yes.
Long answer: Yes, but it depends on what “real” means. If you’re building a small personal site, blog, or even a portfolio — it works like magic. For larger projects, it’s a great staging server, but eventually, you’ll need something more powerful.
And that’s okay. The point is to learn.
Frequently Asked Questions (FAQs)
Is Raspberry Pi reliable for 24/7 hosting?
It can be, but you need good power backup and proper cooling.
What’s the biggest limitation of Pi hosting?
Performance. It’s not made for handling hundreds of users at once.
Can I use a Raspberry Pi for WordPress?
Yes, but I wouldn’t recommend it for heavy traffic. Static sites are a better fit.
Do I need a domain name?
Not really, but using a DDNS like DuckDNS makes things easier.
Final Thoughts: A Tiny Pi With Giant Lessons
Looking back, hosting a website on a Raspberry Pi wasn’t just a tech experiment. It was a journey. It forced me to understand how the web actually works — from DNS to firewalls to HTML.
If you’re someone like me — curious, always learning, building little tools and websites to help people — then grab a Raspberry Pi and start hosting. You’ll learn things no tutorial can teach you.
Thanks for reading. I’m Rifat, and I build, break, and build again. Keep tinkering, and stay curious.
P.S. If you’re thinking about trying it, just do it. The Pi might be tiny, but the lessons are huge.