Hey there! I’m Rifat, and I recently dove head-first into a wild 72-hour journey of building my very first local website powered by MySQL. No fancy setups. No team. Just me, a laptop, way too much coffee, and a lot of late-night head-scratching.
Spoiler alert: it was intense, confusing, frustrating, hilarious, and absolutely amazing. If you’re someone who’s just getting started with web development or you’re just super nosy (I see you 👀), you’re gonna love this deep dive. I’ll break down everything I learned, all the messy details, what worked, what blew up in my face, and why I think every beginner should try doing this at least once.
Why I Even Did This (No, I Wasn’t Being Tortured)
Okay so let’s start from the very beginning: why did I decide to throw myself into this chaotic project?
I’ve been super passionate about web development for a while. Like, I can’t stop watching tutorials and playing with HTML, CSS, and JavaScript. I even built some cool-looking front-end pages. But deep inside, I knew I was missing the real magic—the part where websites actually become alive. I’m talking user logins, storing info, dynamic pages that change based on who’s using them. That’s when I realized: I need to get into the backend. And MySQL? It felt like the perfect start.
Everyone kept saying it’s beginner-friendly, widely used, and plays really well with PHP. So I made myself a challenge: build a full login/registration system and a dashboard using MySQL, completely locally on my own laptop, within 72 hours. I had zero backend experience before this. Challenge accepted 💪.

Hour 1–3: Trying to Install Stuff Without Breaking My PC
The first thing I needed was a local environment. Everyone online was shouting “use XAMPP, bro!” so that’s what I did.
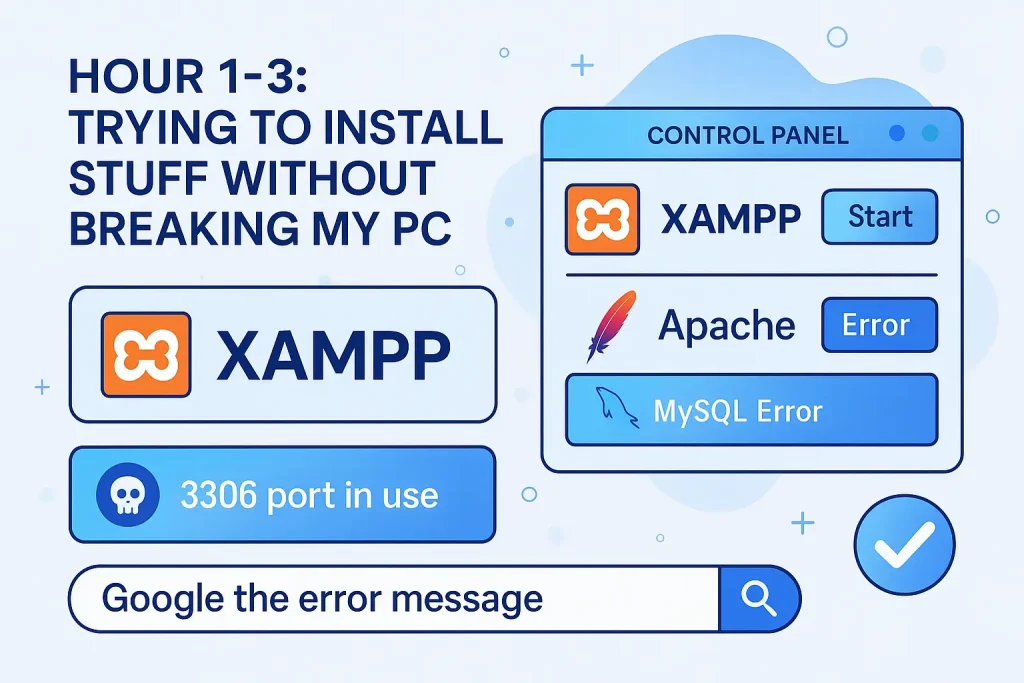
But let me tell you, installing XAMPP was not as plug-and-play as I thought. After I downloaded it and installed it, I launched the control panel and clicked “Start” on Apache and MySQL like a boss.
And then… MySQL didn’t start. 💀
Turns out, Skype was using port 3306 or something like that. I had no idea ports could even clash like that. It took me a solid hour to figure out how to change the port and restart the whole thing. Finally, those green lights came on, and I felt like I just hacked into NASA.
Lesson: If something doesn’t start, don’t panic. Just Google the error message. Someone’s already gone through your pain.
Hour 4–6: Where the Heck Do I Write Code?
Now that XAMPP was working, I needed to write some actual code. I opened up VS Code (my fave editor) and realized I had no clue where to put my files.
After some trial and error, I figured out that all your files go inside the htdocs folder in XAMPP. I created a folder called mywebsite and inside that, I started creating my PHP files.
I wanted to keep things clean, so I made multiple files for different things:
| File Name | What It Does |
|---|---|
| index.php | Main home page |
| db.php | MySQL connection settings |
| register.php | Logic for handling registration |
| login.php | Logic for user login |
| dashboard.php | Protected page for logged-in users |
Honestly, this structure helped me so much. I could focus on one task at a time, without making a giant spaghetti mess.
Hour 7–10: The Database Was a Whole Different World 🌍
Now came the part I was most scared of: creating a database.
Luckily, XAMPP comes with phpMyAdmin, which is like a graphical interface for MySQL. You don’t need to write raw SQL in the terminal (thank God), although I later learned it’s super useful to know that too.
I created a database called user_system and added a users table with the following fields:
| Field | Type | Description |
|---|---|---|
| id | INT | Primary key (auto increment) |
| username | VARCHAR(255) | Stores the username |
| VARCHAR(255) | Stores the user email | |
| password | VARCHAR(255) | Encrypted password |
| created_at | TIMESTAMP | Auto timestamp |
Designing this table made me realize how important database planning is. I didn’t even think about indexing or foreign keys at first. I just wanted it to work. But later, I saw how a well-structured database makes everything smoother.
Hour 11–18: Making the Database and PHP Talk (And Scream)
The next big thing I tackled was connecting my PHP files to MySQL. Sounds simple, right?
Nope.
My first attempt:
$connection = mysqli_connect("localhost", "root", "", "user_system");
And… it didn’t work.
I tried everything. Restarted XAMPP. Checked phpMyAdmin. And then I realized I had a typo in the database name. Yep. One letter wrong.
When I finally fixed it, I wrapped it in a simple if-check:
<?php
$connection = mysqli_connect("localhost", "root", "", "user_system");
if (!$connection) {
    die("Connection failed: " . mysqli_connect_error());
} else {
    echo "Connected successfully!";
}
?>
Seeing that success message? Pure bliss. Almost made up for the three hours I wasted.
Hour 19–30: Registration System = Brain Explosion
Now it was time to make users register. I made a simple form with fields for username, email, and password. Pretty straightforward stuff. But behind the scenes? Oh boy.
I learned:
- You must validate every input. Don’t trust users.
- Passwords should be hashed using
password_hash(). - Use prepared statements to prevent SQL injection.
Here’s a peek into my register.php:
$password = password_hash($_POST['password'], PASSWORD_DEFAULT);
$stmt = $connection->prepare("INSERT INTO users (username, email, password) VALUES (?, ?, ?)");
$stmt->bind_param("sss", $username, $email, $password);
$stmt->execute();
Once I got this working, I literally danced in my room. Yes, I’m that kind of nerd.
Hour 31–45: Login System = Session Magic ✨
Now came the login part. This was another beast. I had to:
- Take the user’s email and password.
- Fetch the user record from the database.
- Verify the password using
password_verify(). - If valid, start a PHP session and redirect them.
I never understood what sessions really did until this. They basically let you remember a user across multiple pages. Super cool.
session_start();
if (password_verify($passwordInput, $row['password'])) {
    $_SESSION['user_id'] = $row['id'];
    header("Location: dashboard.php");
    exit();
}
After login, I built a dashboard page that shows “Welcome, [username]!” if the session is active. It made the whole thing feel REAL.
Hour 46–60: Debugging Like a Detective
Let’s be honest: 50% of programming is Googling errors.
During these hours, I:
- Learned how to turn on error reporting using
ini_set(). - Used
var_dump()andprint_r()like a flashlight in a dark cave. - Got stuck on a blank page for 2 hours because I forgot a semicolon.
Seriously. Debugging taught me more than any tutorial. Every error was a mini lesson. And trust me, there were a LOT.
Hour 61–72: Wrapping It Up, Testing, and Feeling Like a Hero
In the final stretch, I:
- Tested registration and login multiple times.
- Tried invalid inputs to see if they’d break stuff.
- Made sure passwords were hashed properly.
- Cleaned up the UI a little (just so it didn’t look like it was built in 2001).
And then… I sat back, took a deep breath, and smiled. I had just built my first fully functional local website with MySQL.
It wasn’t perfect.
It wasn’t pretty.
But it was MINE.
FAQs I Asked Myself (And You Probably Are Too)
Do I need to know PHP to use MySQL?
Not really. You can use MySQL with other languages too. But PHP makes it super easy, especially for beginners.
Is MySQL free?
Yep. It’s open-source and totally free. That’s one reason it’s so popular.
How long did it actually take?
I spent about 72 hours spread across 4 days. Some sessions were 10 hours long. Some were just quick fixes. But every single minute taught me something.
Would I do it again?
HECK YES. With snacks.
Final Thoughts: Why You Should Totally Try This
Look, I’m not gonna pretend this was easy. It wasn’t. I struggled hard. But I came out stronger, smarter, and way more confident in my skills.
If you’re like me—curious, stubborn, and obsessed with building stuff—then try making your own local website with MySQL. Don’t wait till you know “everything.” Just start. You’ll learn as you go.
This whole experience changed how I see web development. It’s not just about writing code. It’s about solving problems, staying patient, and being proud of what you build.
Stay curious. Stay stubborn.
– Rifat 🛠️


